
Choose the Right Build Path
For a specific character, use the 21-character comparison and filter. For loadouts seen in submitted high-ranking runs, compare the synchronized leaderboard sample and check its game version before copying it.
🎭 Character-Specific Builds
Optimized builds tailored for each character's unique strengths and abilities
Find a Character Build Fast
Showing all 21 character builds.
All 21 Character Build Pages
Open a Best Build directly, or use Character Guide for unlock and passive information.
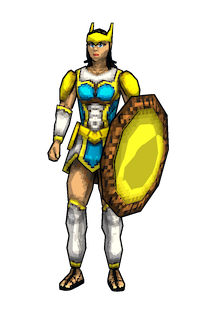
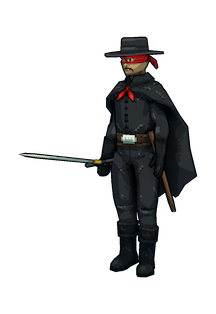
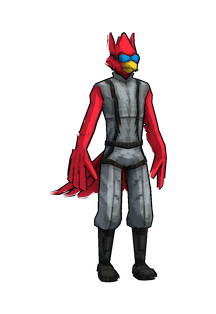

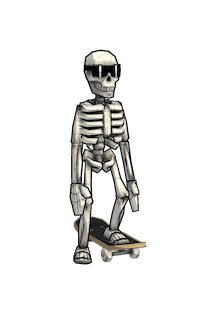
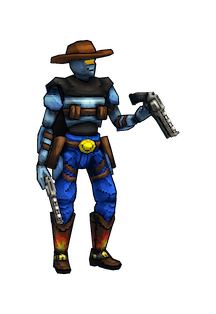

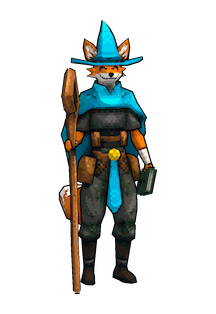


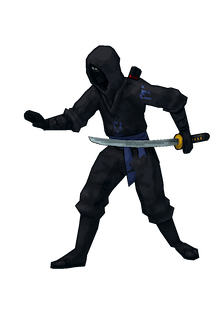
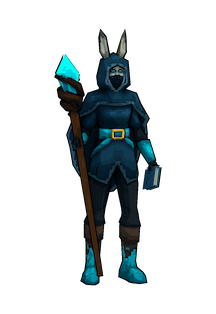
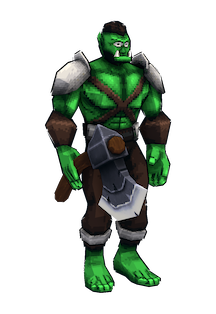

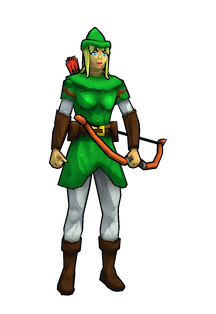
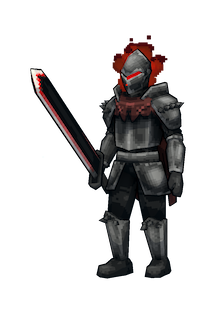
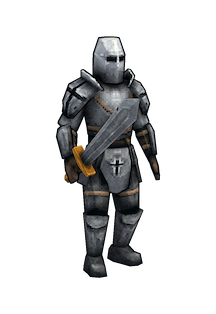


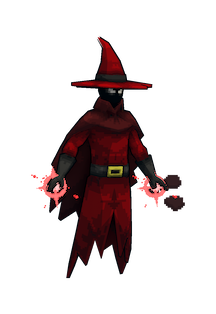
Every Character's Best Build Comparison
Patch-reviewed quick picks for v1.0.69. Open the Build for the full loadout, or the Character Guide for unlocks and passive mechanics.
| Character | Best Build Core | First Tome Priorities | Difficulty | Pages |
|---|---|---|---|---|
| Amog | Poison Flask + Black Hole | Cooldown → Quantity | Intermediate | Build · Guide |
| Athena | Aegis + Lightning defense | Cooldown → Agility | Intermediate | Build · Guide |
| Bandit | Dexecutioner + Katana execute | Size → Cooldown | Advanced | Build · Guide |
| Birdo | Tornado airborne coverage | Size → Quantity | Intermediate | Build · Guide |
| Bush | Sniper + Bow Bullseye | Precision → Size | Advanced | Build · Guide |
| Calcium | Bone + Bananarang speed | Agility → Cooldown | Advanced | Build · Guide |
| CL4NK | Revolver + Bow projectile crit | Quantity → Precision | Intermediate | Build · Guide |
| Dicehead | Dice + Revolver scaling | XP → Luck | Advanced | Build · Guide |
| Fox | Revolver + Bow crit/Luck | Quantity → Damage | Intermediate | Build · Guide |
| Megachad | Aura + Aegis Flex engine | Cooldown → Size | Beginner | Build · Guide |
| Monke | Bananarang + Revolver | Quantity → Projectile Speed | Intermediate | Build · Guide |
| Ninja | Katana + Dexecutioner melee | Size → Quantity | Advanced | Build · Guide |
| Noelle | Frostwalker + Lightning control | Size → Cooldown | Beginner | Build · Guide |
| Ogre | Axe + Aura bruiser | Damage → Quantity | Beginner | Build · Guide |
| Roberto | Scythe + Hoarder economy | Luck → Size | Advanced | Build · Guide |
| Robinette | Bananarang + Aegis economy | Quantity → Cooldown | Intermediate | Build · Guide |
| Sir Chadwell | Dexecutioner + Bananarang | Size → Damage | Advanced | Build · Guide |
| Sir Oofie | Sword + Aegis armor | Size → Quantity | Beginner | Build · Guide |
| Spaceman | Black Hole + Aura control | XP → Quantity | Intermediate | Build · Guide |
| Tony McZoom | Wireless Dagger + Lightning | Projectile → Quantity | Advanced | Build · Guide |
| Vlad | Blood Magic + Sword sustain | Bloody → Cooldown | Intermediate | Build · Guide |
No matching character build. Clear the filter to see all 21.
⚔️ Build by Playstyle
Choose an archetype first, then open the guide for its full weapons, Tomes, items and character fit.
Melee / Execute
Katana + Dexecutioner
For close-range runs that use frequent hits and Execute pressure. Compare with Ninja or Bandit before committing.
Open melee Build → Ranged / CritRevolver Crit
For ranged runs built around Crit Chance, Crit Damage and precise single-target pressure.
Open ranged Build → Defense / AreaAura + Aegis
For players who want passive area coverage with a defensive layer instead of a glass-cannon route.
Open defense Build → Poison / SustainPoison Flask Sustain
For Amog and damage-over-time routes that need coverage, proc frequency and survivability choices.
Open poison Build → Control / GroupingBlack Hole Control
For grouping enemies before area damage lands. Useful when crowd positioning matters more than burst alone.
Open control Build → Movement / ScalingCalcium Speed
For movement-focused Calcium runs that convert speed and uptime into a mobile damage plan.
Open movement Build →📈 Latest Synchronized Leaderboard Build Lab
See repeated weapon and Tome setups from the latest synchronized Top 100 sample. Each card keeps an exact co-occurring loadout together and shows the sample version, so older leaderboard data is not presented as a current-patch recommendation.
Loading patch…
Loading sample…
Checking coverage…
Checking sync time…
Checking cache…
Checking whether the leaderboard sample matches this guide's reviewed game version…
Loading leaderboard evidence…
No repeated leaderboard loadout is available for this filter. The editorial Build and Character Guide links above remain available.
Ranked evidence updates independently from manually reviewed Build recommendations.
Explore all ranked Builds
Builds for a Specific Goal
Use the destination that matches the run you are trying to complete.
Current ranked evidence
Leaderboard Builds
Inspect complete submitted loadouts, their recorded version and recurring weapon/Tome combinations.
View ranked Builds → First clearsBeginner Build Route
Learn the upgrade order, economy decisions and survival basics before optimizing a character-specific setup.
Open beginner guide → High-kill runs300K Kills Build
Plan the character, map, difficulty and scaling choices needed for the 300K Kills achievement route.
Open 300K guide → Challenge rulesAFK Challenge Build
Check the challenge boundary and build around passive coverage without confusing it with a normal semi-AFK farming setup.
Open AFK challenge →Need a Ranking Instead of a Complete Build?
This Hub compares complete character and playstyle loadouts. Use the dedicated ranking pages when you only need to choose one weapon, Tome, item or character.
Megabonk Build FAQ
Quick answers about choosing a Build and interpreting synchronized leaderboard evidence.
What is the best Megabonk Build?
There is no single best Build for every character or mode. Start with the character-specific Best Build, then compare version-matched leaderboard evidence.
Are leaderboard Builds always current?
Not necessarily. This Hub shows the leaderboard data version and sync time. If it differs from the latest game version or manual review baseline, treat it as ranked evidence and check the latest patch changes.
How do I find a Build for my character?
Use the character search or selector, then open that character's Best Build page for Weapons, Tomes, Items and progression. Use the Character Guide for unlocks, passive mechanics and the starting weapon.
Why is the leaderboard version different?
The synchronized leaderboard can retain runs from an earlier game version or lag the newest patch. The Hub labels leaderboard data and editorial review versions separately so they are not presented as identical.
Choose Your Next Build
Choose a character or playstyle, check the stated patch version, then compare the editorial guide with current ranked-run evidence before starting.